

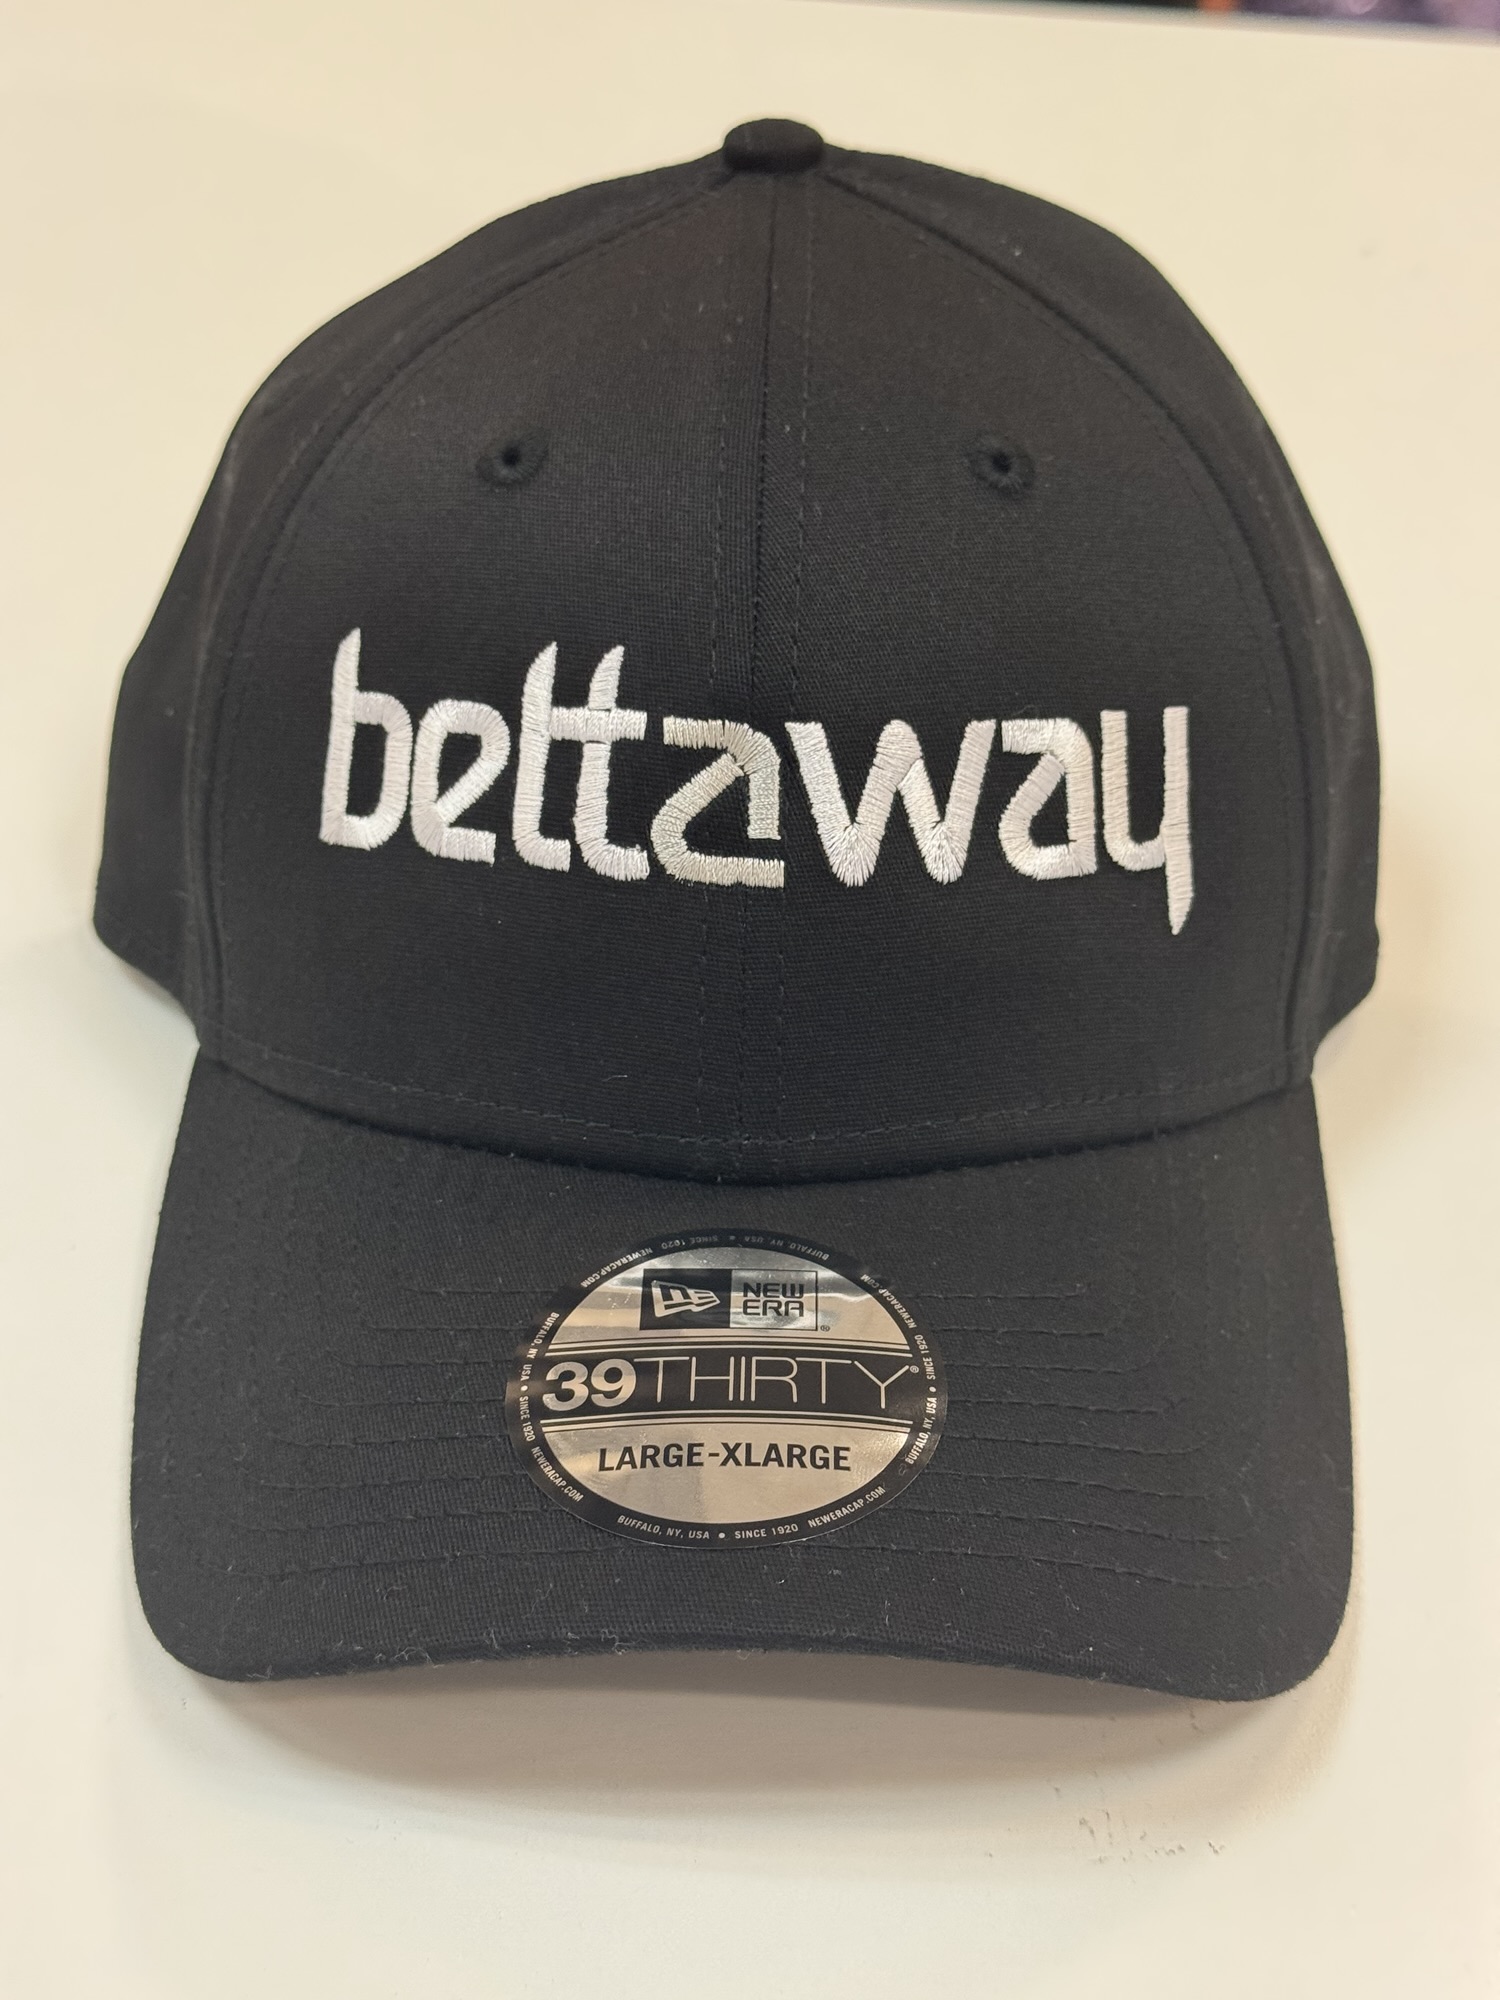
Embroidery digitizing is the step that turns your logo into a stitch file an embroidery machine can sew. A person maps out every stitch: which way it runs, how dense it is, which color goes first and how each shape is filled. Good digitizing is the difference between a crisp, clean logo and a lumpy one, and it matters even more on the curved front of a hat.
Why a logo file isn’t enough
Your logo file describes shapes and colors. An embroidery machine doesn’t understand shapes. It only knows needle positions: move here, stitch, move there, change thread. Embroidery digitizing is the translation between the two.
Software helps, but auto-converting a logo usually gives poor results. The best stitch files are built by someone who knows how thread behaves on fabric.
What happens during embroidery digitizing
- Choosing stitch types. Narrow shapes like letters usually get satin stitches, which look smooth and shiny. Large areas get fill stitches, which lay down rows of thread. Fine outlines get running stitches.
- Setting direction and density. Stitch direction changes how light hits the thread. Density decides how solid an area looks. Too dense and the hat stiffens; too light and the fabric shows through.
- Planning the order. Hats are stitched from the center out and from the bottom up, which helps keep the design flat on a curved front.
- Adding underlay. Hidden base stitches go down first to anchor the top stitches and keep edges sharp.
- Compensating for pull. Thread pulls fabric as it stitches. Good digitizing adjusts shapes slightly so the finished logo matches your art.
Why digitizing matters more on hats
A cap front is curved, seamed down the middle on many styles, and only a few inches tall. That changes how stitches land compared to a flat shirt. Text has to be large enough to read, small gaps can fill in, and thin lines can disappear. Digitizing for hats takes all of that into account.
It’s also why some designs need small changes. Gradients become solid colors. Tiny taglines get bigger or move to the back. Very thin outlines get thicker. Our guide on logo files and design questions covers the common ones.
How we handle digitizing
We digitize in Wilcom EmbroideryStudio, the same software the lettering in our hat designer comes from, and we stitch with Madeira thread. When you upload a logo, the designer pulls out its colors and matches each one to a thread so you can see how it will look.
Here’s the part customers like: there’s no separate digitizing fee. Many shops charge one per logo, which makes small orders expensive. We build it into our logo price, so one hat with your logo is $39 and the price per hat drops as your order grows.
A real person checks every design before it’s stitched. If something won’t stitch well, we contact you first. Want to see the result before we start? Add a digital proof for $8.99 and approve it yourself.
How to make digitizing easier (and your hat better)
- Send the cleanest file you have. Vector files (AI, EPS, SVG, PDF) are best.
- Use solid colors. Up to 15 thread colors per design, but fewer usually looks better.
- Keep text at least a quarter inch tall.
- Remove background boxes so only the logo is stitched.
Digitizing questions
Do I need to send a stitch file?
No. Just send your logo artwork. We take care of the stitch file.
Do I pay again for a reorder?
No. There’s no digitizing fee on any order.
Can you digitize a sketch?
We can help turn a rough idea or sketch into something that stitches cleanly. We aren’t a full logo design agency, but we’re glad to help.
See your logo stitched
Pick a hat and upload your logo to see thread colors, size and your exact price. No setup fees, no digitizing fees and no minimums.